
in How To
Installed Traccar Platform for GPS Tracking on Digital Ocean.
Traccar is a free and open source modern GPS tracking system
Traccar is a GPS Tracking Platform, meaning that there are supported systems and services such as Server Client and Manager (Manager).
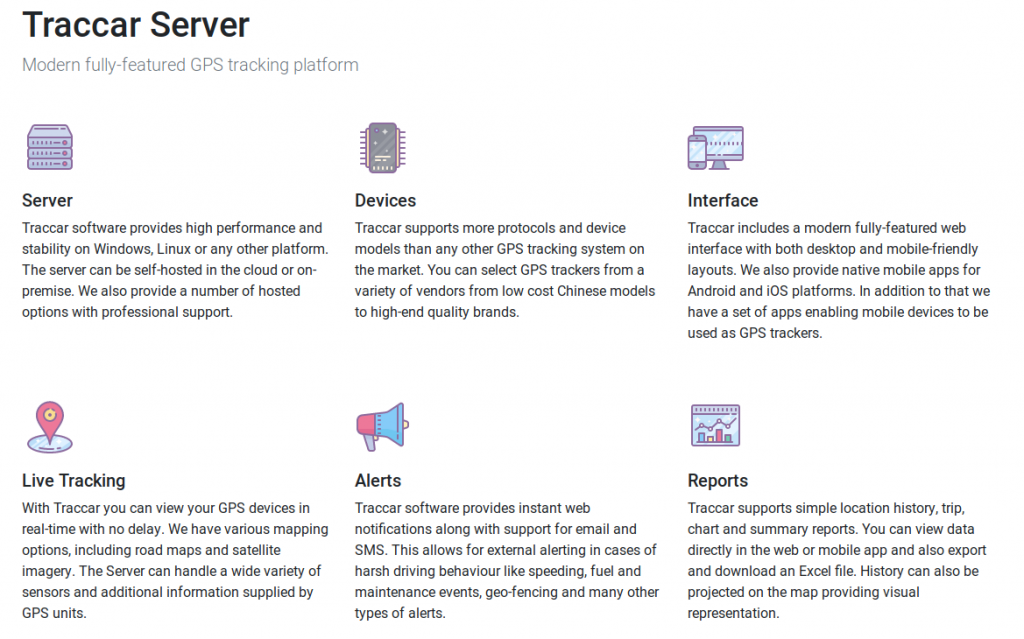
The server itself supports both Windows, Linux and Arm. Now it is version 4.2. Client has both Android and iOS. Other GPS devices that support it can be found here.
GPS Tracking is the positioning of an object via Global Positioning System (GPS) which is used to track and locate the object from a distance. This GPS tracking technology can specify geographic coordinates. Latitude, longitude, ground speed The direction and direction of movement of that object That we can follow
Therefore, this system is used in many tasks that we often see is the tracking system for cars or vehicles. Whether it is a transportation vehicle Emergency vehicles in the public health system
Traccar has both paid and free service rates, but what we're interested in is the Opensource.
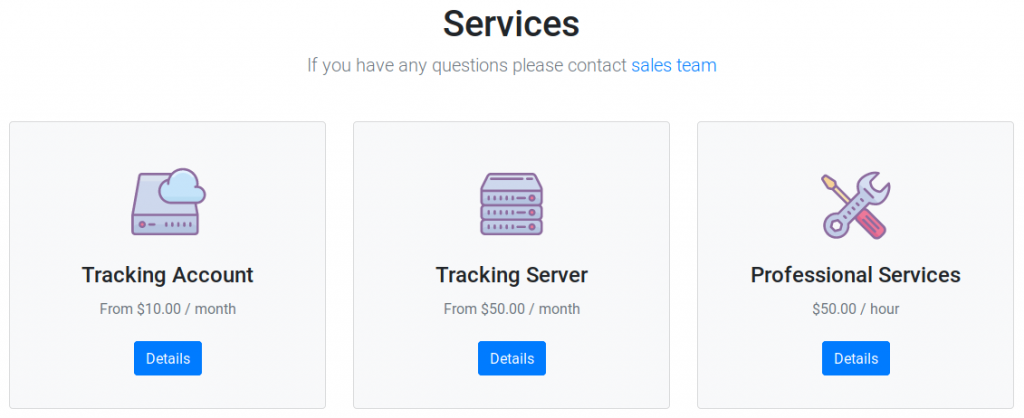
Begin by installing the Server. In truth, each The person who will use it needs to have a server that actually provides services on the internet so that the GPS device can connect to it. It can be a real machine, put it at the IDC somewhere, or if not really invested in the server, it will be a VPS (Virtual Private Server). ) In the market, there are both Thai and foreign, the most famous are Amazon Digital Ocean. In this blog, we use the smallest DigitalOcean 1 CPU SSD 25GB. Service fee is 5 $ / month. Create a Droplet. Details about All VPS can be read here for beginners For those who are applying now, go here.
After creating the Droplet is complete (here using Ubuntu 18.10), continue to install the Docker (Traccar also has a Docker Image ^ __ ^)
curl -fsSL https://download.docker.com/linux/ubuntu/gpg | sudo apt-key add -
curl -fsSL https://download.docker.com/linux/ubuntu/gpg | sudo apt-key add -
curl -fsSL https://download.docker.com/linux/ubuntu/gpg | sudo apt-key add -
And add the Docker repository. (Currently, Docker for Ubuntu 18.10 doesn't have a stable version yet. You need to use the test version.)
sudo add-apt-repository "deb [arch=amd64] https://download.docker.com/linux/ubuntu $(lsb_release -cs) test"
sudo add-apt-repository "deb [arch=amd64] https://download.docker.com/linux/ubuntu $(lsb_release -cs) test"
sudo add-apt-repository "deb [arch=amd64] https://download.docker.com/linux/ubuntu $(lsb_release -cs) test"
When done, update and continue to install Docker.
sudo apt-get update
sudo apt-get install -y docker-ce
sudo apt-get update sudo apt-get install -y docker-ce
sudo apt-get update
sudo apt-get install -y docker-ce
If nothing goes wrong, the Docker must work.
sudo systemctl status docker
sudo systemctl status docker
sudo systemctl status docker
Here we start to install Traccar Server to create Directory in 2 Directory which is
- logs for storing logs
- conf for storing the Config file.
mkdir -p {conf,logs}
mkdir -p {conf,logs}
mkdir -p {conf,logs}
Next, create a config file here. Use the default file from Traccar.
docker run \
--rm \
--entrypoint cat \
track / track \
/ opt / traccar / conf / traccar. xml > conf / traccar. xml
docker run \ --rm \ --entrypoint cat \ traccar/traccar \ /opt/traccar/conf/traccar.xml > conf/traccar.xml
docker run \
--rm \
--entrypoint cat \
track / track \
/opt/traccar/conf/traccar.xml > conf/traccar.xml
By default, Traccar will use the database of hbase. If we want to change to MySQL or others, then edit this details. The Config file will look like this.
<?xml version='1.0' encoding='UTF-8'?>

<!DOCTYPE properties SYSTEM 'http://java.sun.com/dtd/properties.dtd'>

<properties>

    <entry key='config.default'>./conf/default.xml</entry>

    <!--

    This is the main configuration file. All your configuration parameters should be placed in this file.

    Default configuration parameters are located in the "default.xml" file. You should not modify it to avoid issues
    with upgrading to a new version. Parameters in the main config file override values in the default file. Do not
    remove "config.default" parameter from this file unless you know what you are doing.

    For list of available parameters see following page: https://www.traccar.org/configuration-file/

    -->

    <entry key='database.driver'>org.h2.Driver</entry>
    <entry key='database.url'>jdbc:h2:./data/database</entry>
    <entry key='database.user'>sa</entry>
    <entry key='database.password'></entry>

</properties>
<?xml version='1.0' encoding='UTF-8'?> <!DOCTYPE properties SYSTEM 'http://java.sun.com/dtd/properties.dtd'> <properties> <entry key='config.default'>./conf/default.xml</entry> <!-- This is the main configuration file. All your configuration parameters should be placed in this file. Default configuration parameters are located in the "default.xml" file. You should not modify it to avoid issues with upgrading to a new version. Parameters in the main config file override values in the default file. Do not remove "config.default" parameter from this file unless you know what you are doing. For list of available parameters see following page: https://www.traccar.org/configuration-file/ --> <entry key='database.driver'>org.h2.Driver</entry> <entry key='database.url'>jdbc:h2:./data/database</entry> <entry key='database.user'>sa</entry> <entry key='database.password'></entry> </properties>
<?xml version='1.0' encoding='UTF-8'?>
<!DOCTYPE properties SYSTEM 'http://java.sun.com/dtd/properties.dtd'>
<properties>
<entry key='config.default'>./conf/default.xml</entry>
<!--
This is the main configuration file. All your configuration parameters should be placed in this file.
Default configuration parameters are located in the "default.xml" file. You should not modify it to avoid issues
with upgrading to a new version. Parameters in the main config file override values in the default file. Do not
remove "config.default" parameter from this file unless you know what you are doing.
For list of available parameters see following page: https://www.traccar.org/configuration-file/
-->
<entry key='database.driver'>org.h2.Driver</entry>
<entry key='database.url'>jdbc:h2:./data/database</entry>
<entry key='database.user'>sa</entry>
<entry key='database.password'></entry>
</properties>
Done, then start the Run Server.
docker run \
-d --restart always \
--name traccar \
--hostname traccar \
-p 8082:8082 \
-p 5000-5150:5000-5150 \
-p 5000-5150:5000-5150/udp \
-v /root/logs:/opt/traccar/logs:rw \
-v / root / conf / traccar. xml : / opt / traccar / conf / traccar. xml : ro \
traccar / traccar
docker run \ -d --restart always \ --name traccar \ --hostname traccar \ -p 8082:8082 \ -p 5000-5150:5000-5150 \ -p 5000-5150:5000-5150/udp \ -v /root/logs:/opt/traccar/logs:rw \ -v /root/conf/traccar.xml:/opt/traccar/conf/traccar.xml:ro \ traccar/traccar
docker run \
-d --restart always \
--name traccar \
--hostname traccar \
-p 8082:8082 \
-p 5000-5150:5000-5150 \
-p 5000-5150:5000-5150/udp \
-v /root/logs:/opt/traccar/logs:rw \
-v /root/conf/traccar.xml:/opt/traccar/conf/traccar.xml:ro \
traccar / traccar
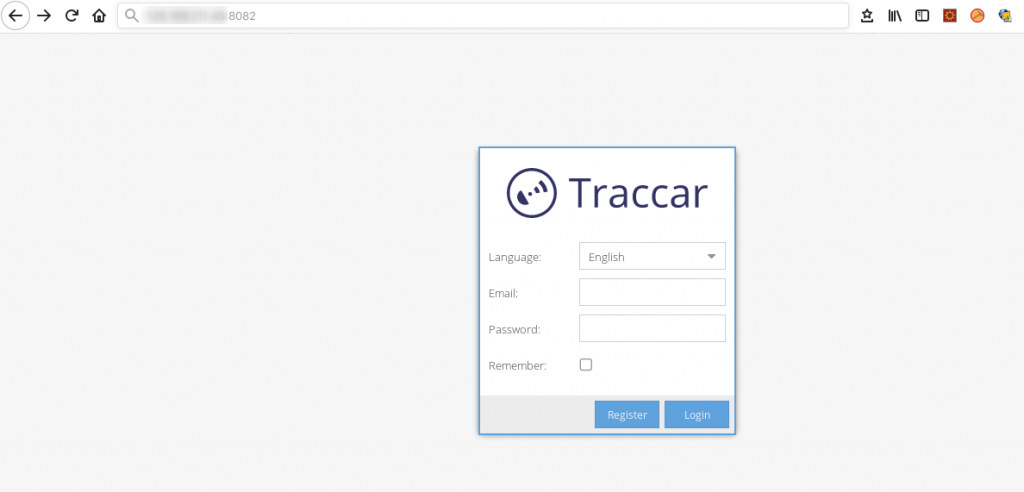
Will get a look at Web Management for managing Traccar by visiting
http://<IP Address>:8082
http://<IP Address>:8082** IP Address is obtained from the VPS that we have created.
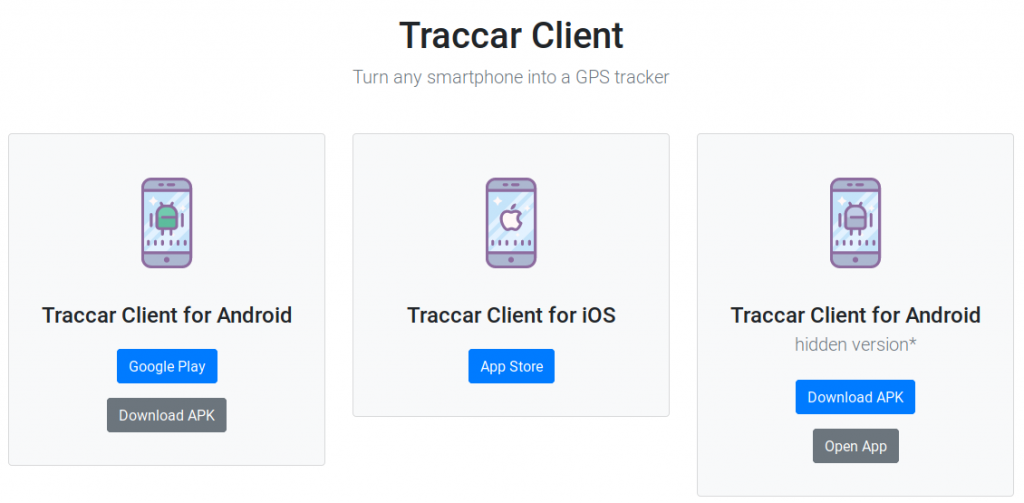
Next, install Client. Now there are both Android and iOS as well as other GPS devices. Check the supported devices here.
To use, you can specify our IP Address on the Server URL according to the sample format.
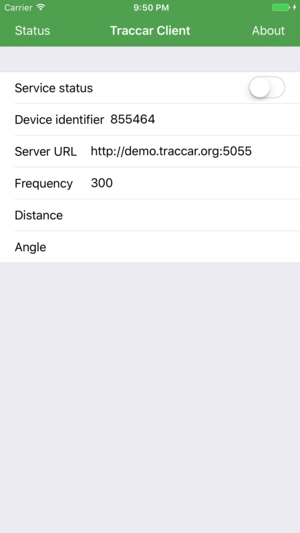
Complete the installation of both Server and Client ^ _ ^
P.S.
- RELATED CONTENT BY TAG
- GPS
- GPS TRACKING
- TRACK
- FOLLOW MY HUSBAND
Tidak ada komentar:
Posting Komentar